
Spotty Skills: Painting an Appaloosa Blanket
Transform your model into an Appaloosa
Article and photos by Jennifer O'Donnell Danza
A blanket pattern Appaloosa is an easy and visually dramatic change to your original finish Breyer model which can be achieved using a few simple items like paint and a hobby knife. If you have a model with some damage on its hindquarters, an Appaloosa blanket is a great way to spruce them up again!
|
Supply list:
|
 |
Let’s start by finding good reference photos. Without good Appaloosa reference photos, you’ll be lost. The reference serves not only as inspiration, but also as a road map for accurate paint placement. I have found that the best place to find reference is online - between online horse sales and stud websites, you’ll find a plethora of visual information to reference while working on your model.

Be sure to gather good Appaloosa reference images before starting your project.
Study the pattern of the reference image you’ve chosen and pay particular attention to where the spots are and the direction of the hair growth. Then, take a white colored pencil and slowly draw ovals to outline where the spots are on the blanket. This little trick really helps with placement.

Using a white colored pencil, draw spots on the hindquarters. The inside of these spots will be left as the original color underneath.
Take equal amounts of white gesso and white acrylic paint and mix them together with a bit of water until the mixture is the consistency of milk. The paint should be thick enough to cover the original finish paint without leaving streaks. If you get textured streaks when painting, add a tiny bit of water. Add the water slowly.
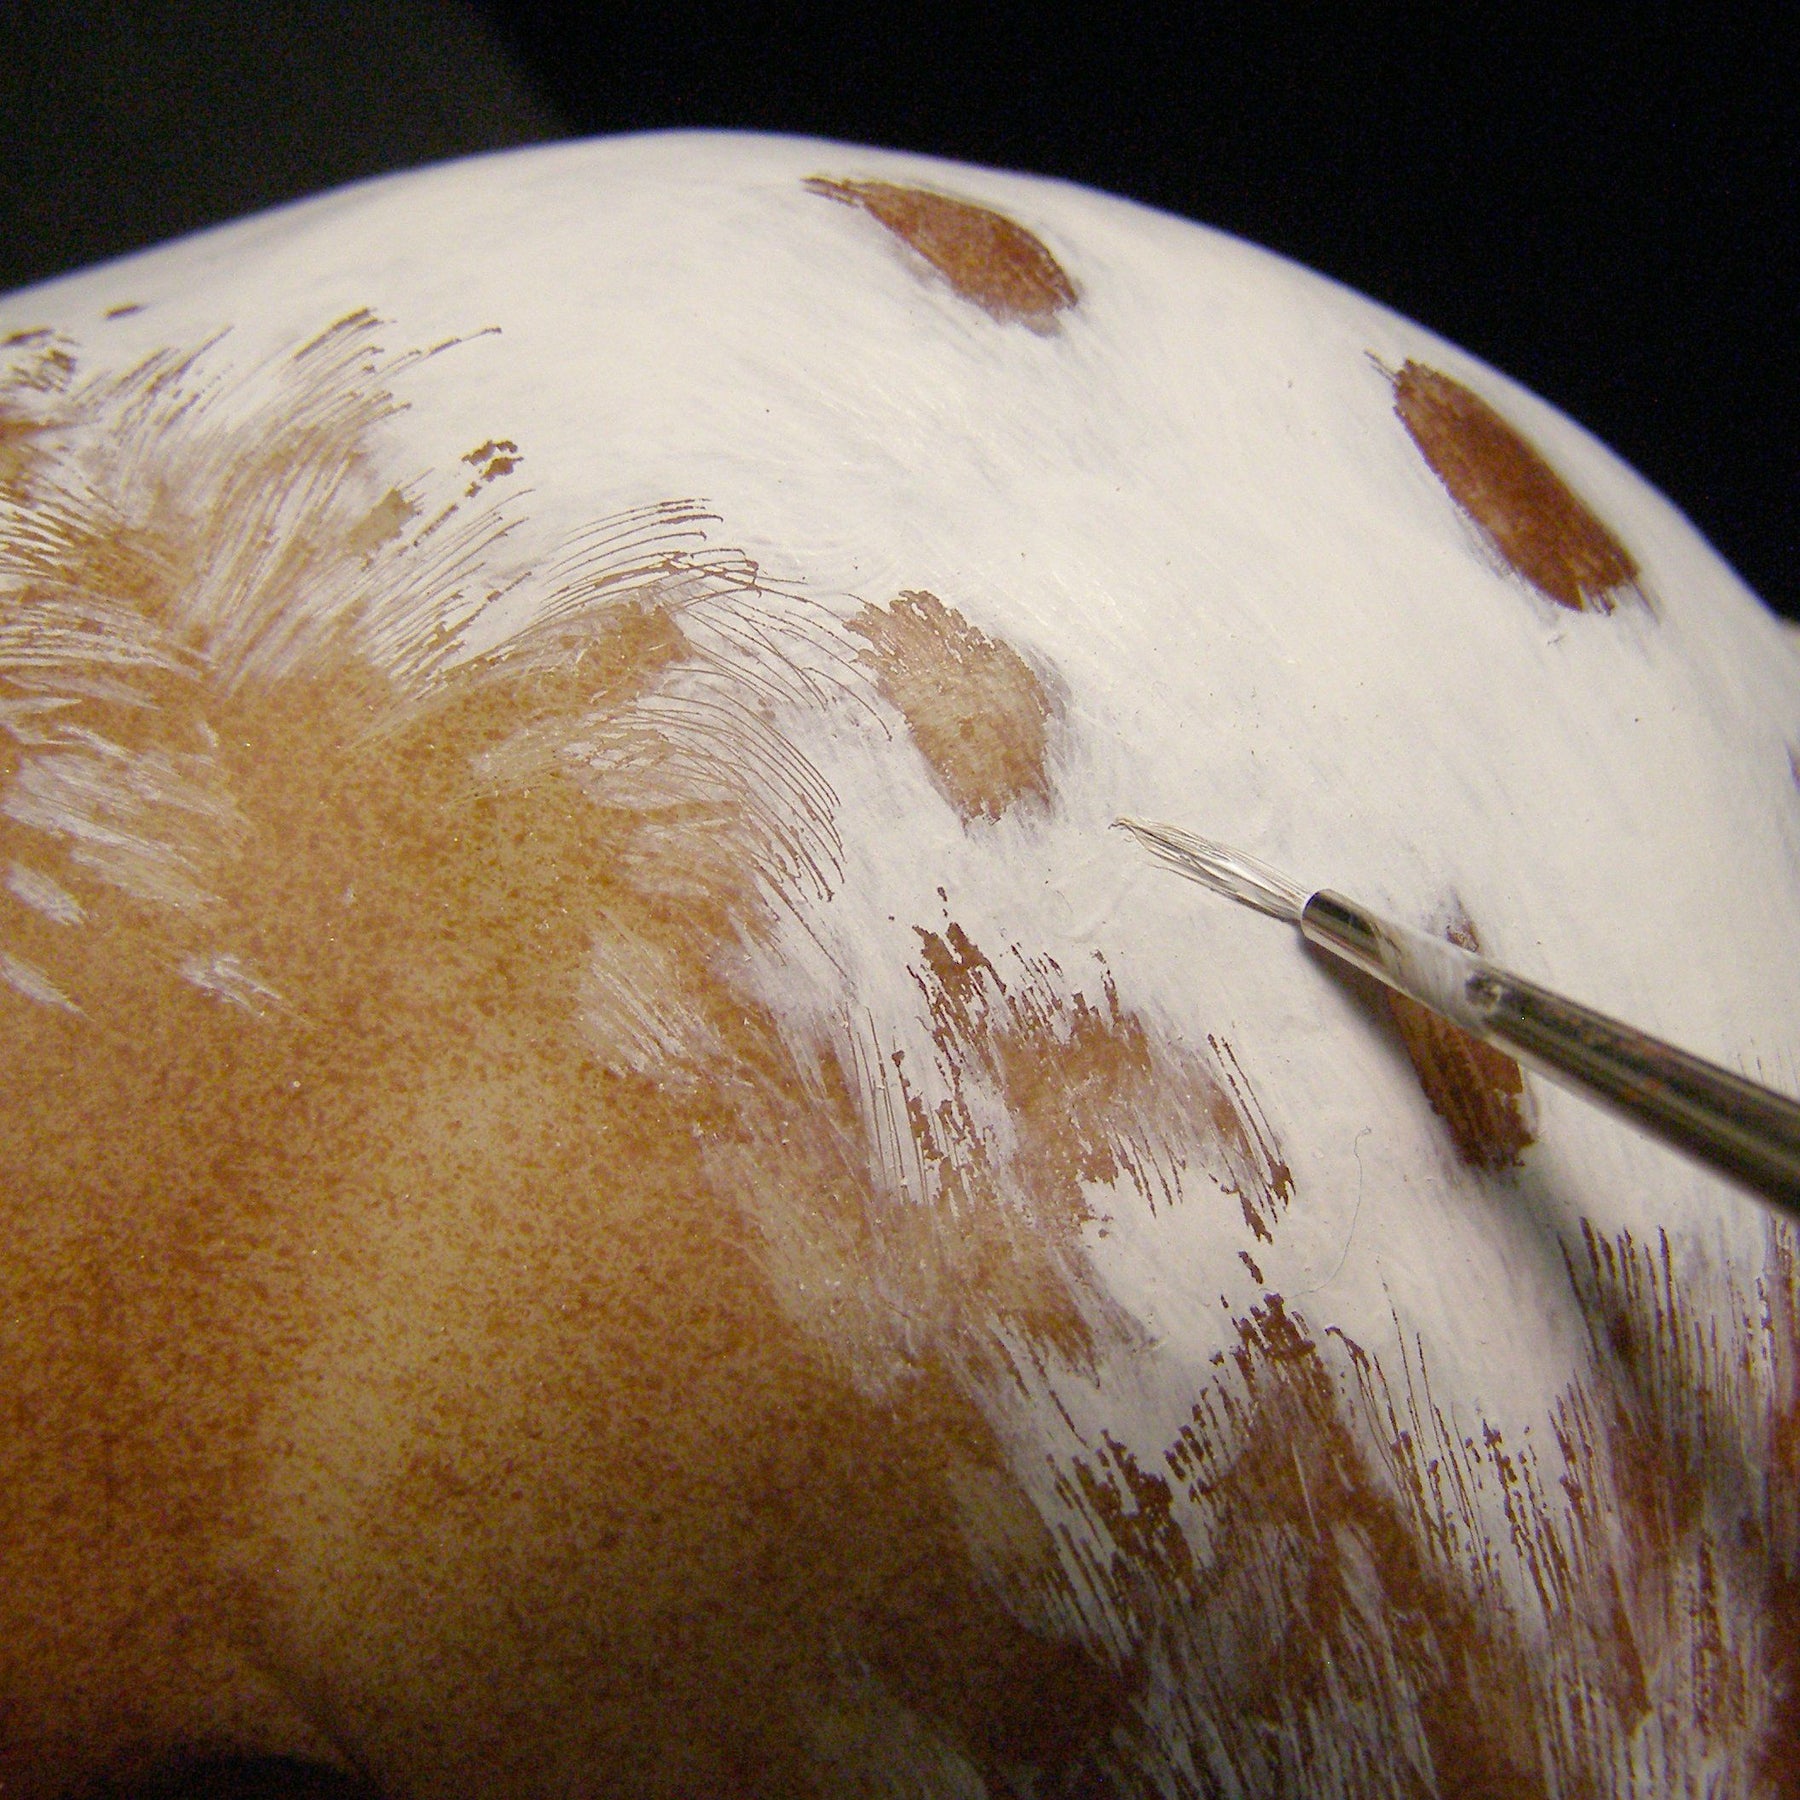
Load up your paintbrush and begin to add the white paint around the penciled ovals. If your paint lands inside the oval, don’t worry. Just keep painting.
|
Mix equal amounts of gesso and acrylic together. |
Start adding white paint around the spots. |
The paint will look funny for the first few layers, but as you continue to add smooth strokes you’ll notice the white paint beginning to turn opaque. Remember that some Appaloosa blanket patterns extend to the base of the horse's tail, not just their hindquarters - keep following your reference, especially where the patterns stop or feathers out.
|
Add paint in layers, keeping some areas lighter than others. |
More layers help hide the original finish paint underneath. |
Continue adding paint until the white is opaque. |
After the fifth or sixth layer of paint, take a hobby knife with a sharp blade and start to gently scratch away some hair texture near the very ends of the blanket pattern you have painted. If you gouge the paint by accident, just repaint those areas once the scratching stage has been completed.
During this scratching stage, you can clean up your spots if paint went astray. You can also add more spots if you feel your blanket pattern is missing something. Even though you are following reference material, you can still take artistic liberties along the way.

Using a hobby knife, scratch away some "hairs" on the edges of the blanket.
Once scratching is complete, take a smaller detail brush and work along the edges and along the outsides of the spots to create a crisp look. You’ll probably need to add more paint all around until the original finish paint is completely invisible underneath your white blanket.

Take a small brush and lay in details around your spots and on the edges of the blanket, cleaning up the scratch marks from earlier.
When you are done with painting, seal your model with a matte spray fixative such as Krylon. Your model is finished - enjoy!

Blog posts
-
 What are the Premier and Stablemates Clubs all about? Signups must close TONIGHT at 11:59 PM EST!Read now
 -
 December 18, 2024
2024/2025 Winter Coloring Contest
Read nowColor in this fun wintry scene for your chance to win an Après Ski Holiday Horse and ornament set!
-
 December 11, 2024
Holiday Sweepstakes 2024!
We love celebrating the holidays with our customers and fans. And to show you all some holiday cheer, we’re having a sweepstakes!Read now


