Where to Find Breyer This Holiday Season
A guide to nearly 100 physical retailers across 39 states!


 |
Even with Breyer horses being tough enough to handle most adventures, it sometimes happens: after a particularly rough day or a nosedive off the shelf, your model has lost a leg! Luckily, as long as you have the leg on hand, you can re-attach it at home with just a few easy steps.
This repair method is intended for play or shelf models - the leg may not look exactly the same as it did out of the package, but the model will be able to stand and be played with just as before. As we are dealing with potentially hazardous materials, younger Breyer fans should ask their parent or guardian to help repair their model.
Supplies:

|
Please note that the type of Super Glue used is VERY important. It cannot be the gel version. The type I use is the classic red cap "Original Super Glue." If it's the wrong type, the reaction needed to bond instantly won't occur.
Super glue and baking soda create what could be described as an "instant cement." The whole process is very fast, so as with most super glue projects, watch your fingers to try not to get any glue on them. Having someone else to hold the horse for you so you can concentrate on the leg would also be a great help!

|
Your repair is simple: First, put a liberal amount of baking soda into a bowl. You won't end up using a lot of it, but you want enough in the bowl that you can pinch it up easily with your fingers. Secondly, dab some superglue on both end of the broken leg (this also would work for tails, or even ears if you have the broken part.) Sprinkle some baking soda on the opposite part, and press the two parts together.
Inevitably you'll have a bit of glue pucker up between the two parts. Quickly, while still holding the two parts together, pinch up some baking soda and pour it over the repair (on every side.) Let it sit for about 5 seconds, and blow the excess baking soda off. If you're not concerned about having a raised ring around the break, or if there is a gap in the break, you can repeat this by adding a little bit more glue around the repair, and then again putting a liberal amount of baking soda over the glue.
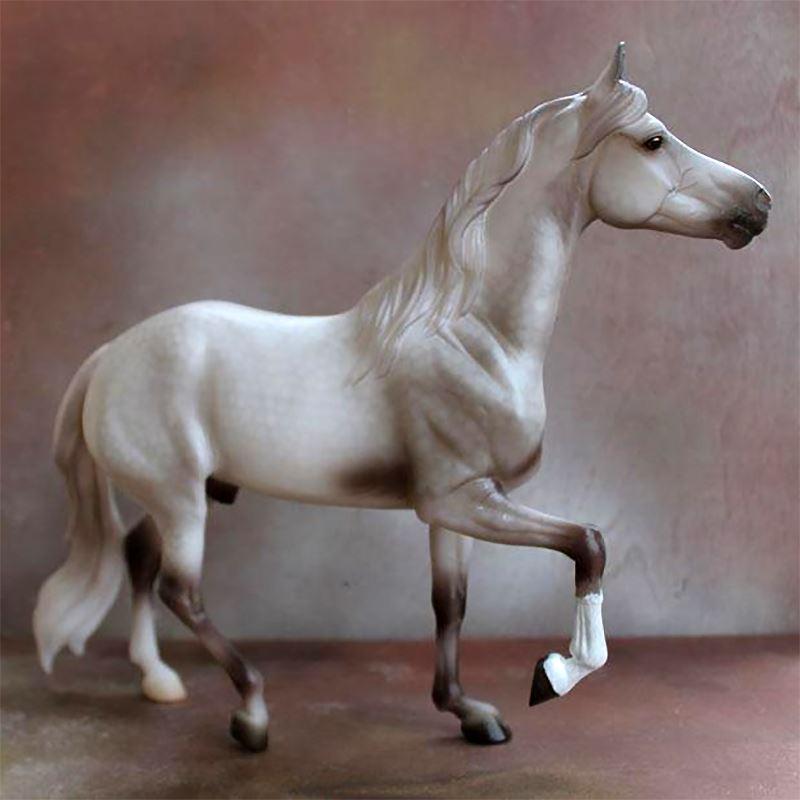
You're all finished with the repair! Wait about 30 minutes before letting the horse go back out to pasture, but the leg will be strong and bonded. If you'd like, you could also lightly sand the excess "soda glue" flush with the leg, and repaint it to match the horse. I decided to give this horse a new white stocking on his leg to mask my repair. This doesn't change the durability of the break, of course!

ALTERNATE METHOD: Another way to repair a break is by applying straight acetone to the end of each side of the break, allowing it to sit for about a minute, and pressing the two parts together. This will also form a strong bond. Be aware that acetone-based nail polish remover is not generally strong enough to do the trick.

A guide to nearly 100 physical retailers across 39 states!

A collection of exclusive models is now arriving at Tractor Supply stores just in time for the holiday season!

We're making room for exciting new 2026 additions!
