Where to Find Breyer This Holiday Season
A guide to nearly 100 physical retailers across 39 states!

Battered and broken ears are a disappointing blemish on a cherished model, but fixing them is easier than one might imagine. Although there are many repair methods, I find the easiest solutions are often best. For fixing ears, a simple combination of baking soda and Zap-A-Gap® glue are all you need.
|
Supply List:
|
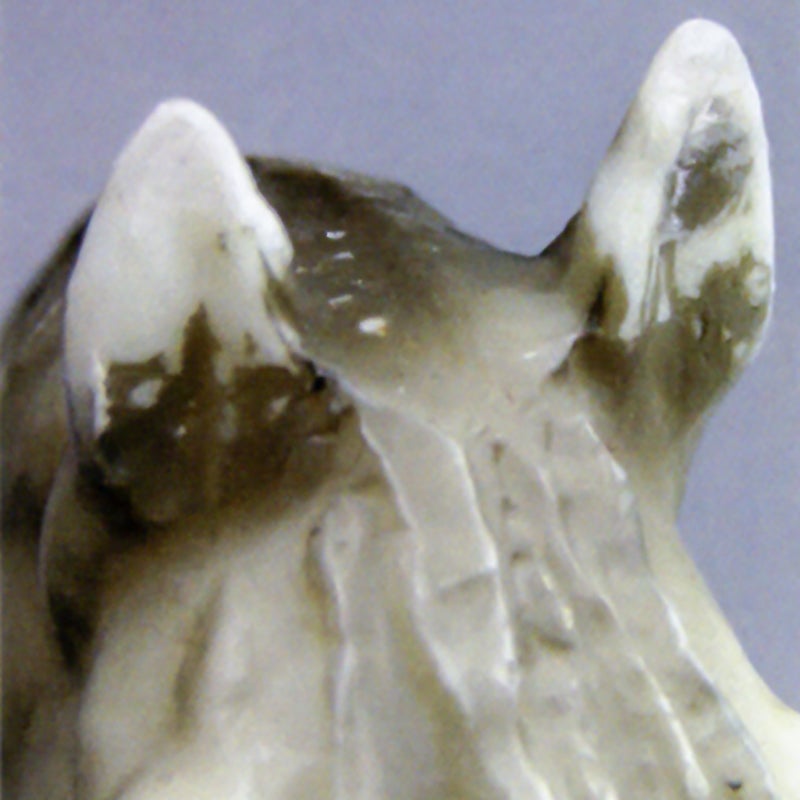
 This vintage Shire Mare model has suffered
two ear chips - one larger than the other. |
First, make sure the horse is clean and free of dust. Dab a small drop of Zap-A-Gap glue (Cyanoacrylate) on the top of the broken ear. (It's okay if the glue drips over the edges a tiny bit.)
 |
 |
|
Make sure your model is clean before beginning. |
Dripping glue on broken ears |
Let the glue sit for about 30 seconds, then tip the horse upside down. The glue drop will follow the pull of gravity and look as if it’s going to drip right off the broken part - don't let it! Instead, dunk that bead of hanging glue right into a mound of baking soda. The baking soda will make the glue bead harden almost immediately via a chemical reaction.

Dipping the glue into baking soda
Keep applying more glue and baking soda in the same fashion until the new "glue mound" is the proper ear height for your model. It may take between 3 and 4 rounds, and this mound will most likely look unsightly at this stage.

Baking soda mounds that have reached the proper ear height
After you have created the base for your ear with the superglue and baking soda mixture, take a Dremel tool and any attachment that fits well into the inner ear cavity - I prefer a #105 bit attachment for the initial carving - and carve the baking soda mound into an ear shape. Be sure to have a reference image handy just in case you lose sight of the shape you need to make.
After that shape has been achieved, take various grades of sandpaper and smooth out any bumps or irregularities until the new addition is smooth and blends into the plastic.

Baking soda/superglue mixture carved to a proper ear shape
There is probably paint missing from the remnants of the original plastic ear, and no color on the new addition. Acrylic paint is the easiest medium to repaint this area with and make your horse look new again.
Match your acrylic paint color to the model's original finish color, then dip your paintbrush in the color. Take that brush and dab it on a fresh, dry paper towel. There will still be color on the brush, but it will be a bit "dry" when you go to apply it to the model. Allow the paint to fully dry once you apply it to the horse. Keep layering your color with this technique. This technique, called "drybrushing," will allow you to blend the new color into the existing factory paint much better, helping to create a seamless touch-up.

Finished model with repaired ears. A fully-recovered patient!

A guide to nearly 100 physical retailers across 39 states!

A collection of exclusive models is now arriving at Tractor Supply stores just in time for the holiday season!

We're making room for exciting new 2026 additions!
