


|
Supply list:
|
 |
Slight changes such as adding leg markings to your original finish Breyer model can give your horse a dazzling new look and make it unique just to you. If you have some white acrylic paint and a paintbrush, you have all you need to transform your model in a matter of minutes!
The most important aspect of this project is the preparation. Prepping your workspace, your paints and your horse will help create a better look and save you time.
Begin by laying out all your supplies. Start with your pallet and add a dollop of paint to it. Keep a container of water nearby for brush cleaning and don’t forget the paper towels and rubbing alcohol.

Start by putting a dollop of white acrylic paint on your styrofoam plate "palette."
To begin, pour a bit of rubbing alcohol on your paper towel and rub down the leg you want to paint. This step will help to eliminate dust and finger prints, which could mar your results.
(NOTE: rubbing alcohol can remove original Breyer paint. If you are unsure if you want your new leg marking(s) to be permanent, skip this step.)
Thin your white acrylic paint by adding water to the dollop of paint. As you add the water, you’ll notice the dollop of paint go from the consistency of toothpaste to more of a milky consistency. Before you get to the consistency of skim milk, stop adding water. This middle stage between toothpaste and skim milk is the perfect consistency for starting the project. It will cover the paint underneath the marking, but not leave bumps or brush strokes.

Add water slowly to thin the paint.
Using the paint you thinned, add one layer from the coronet band all the way up the leg. Stop adding paint 1/4” from the spot you’d like the marking to stop at. The first layer will be very transparent and won’t look good, but that is how it is supposed to look. It should also look smooth. If the actual paint isn’t smooth to the touch, then you need to add a bit more water to your “middle ground” mixture.
|
The first layer of acrylic will look streaky. but it shouldn’t be bumpy. |
As you add more paint, the original finish paint is slowly hidden. |
|
Use a hairdryer or heat gun (on low setting) to help dry the paint faster. |
After multiple layers, the white marking becomes opaque. |
You’ll need to add at least seven layers of acrylic paint in order for the paint to cover the original finish paint. Keep adding layers until you can’t see the original finish color under your white paint. In between each layer you can speed up drying times by carefully using a hairdryer near the painted area - don’t get too close though, or your acrylic paint will bubble.
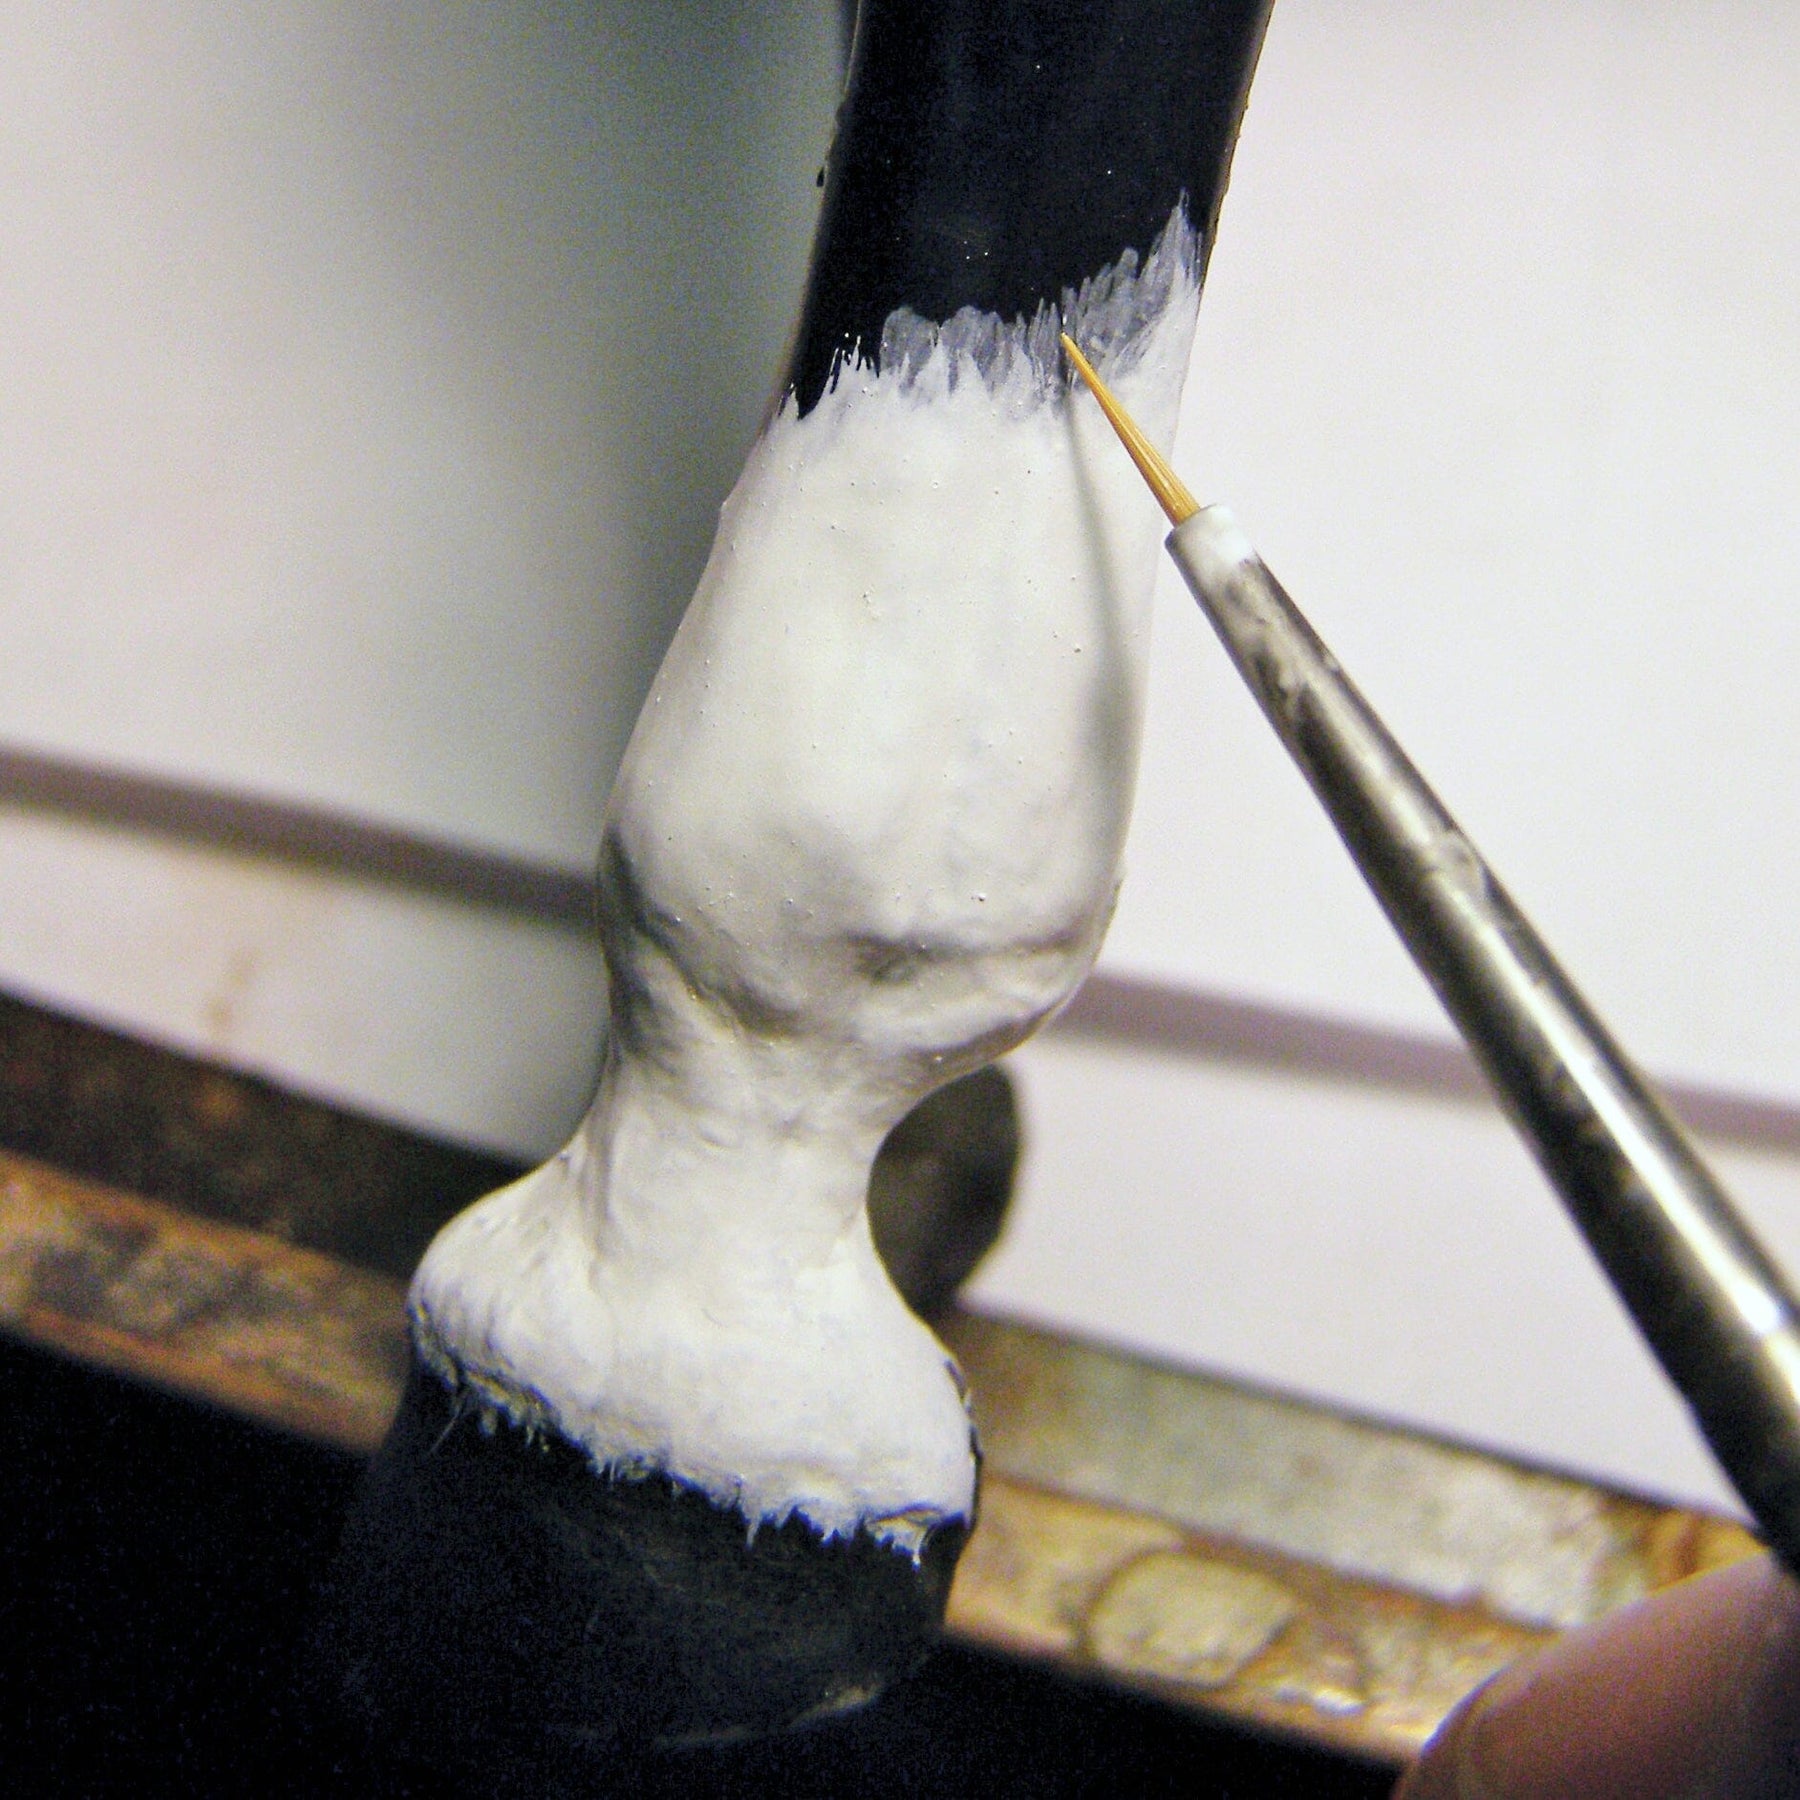
Once the leg is fully covered, take the “skim milk” consistency paint and use a tiny brush to add hair along the top edge of the marking. Go slowly and add paint in a feathery motion. This will help blend both the painted area and the original finish, and give you a realistic-looking transition from the body color to the white marking.

You’ll need two brushes: large and small.
|
Add hair to the upper portion by using the |
The finished leg looks opaque and crisp, with a nice transition from paint to original finish. |
Should you not be satisfied with how your work looks, you can easily wipe any paint off using rubbing alcohol and a paper towel. Once you are happy with how the markings have turned out, apply fixative spray and enjoy your new look!

This simple painting method works well for creating socks, stockings or any small markings.

Enter for your chance to win a one of three Breyer test run models!

We're celebrating Pal O' Mine's 25th birthday in a very special way!